Beanies and Mittens From Old Sweaters

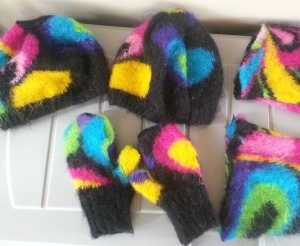
I bought sweaters at a thrift store to make beanies and mittens. I was looking for wool but found some mowhair and alpace sweaters.

Mowhair is from the Angora Goat and Alpaca is from alpacas. Both are said to be warmer than wool while still having similar properties such as water repellancy.  Also, alpaca and mowhair are not as scratchy.

Beanies and mittens from old sweaters, homemade beanie, mittens from old sweater, beanie from old sweater

The sweater I found was a pullover. Due to the ribbing along the bottom and along the neckline I was able to make two beanies out of the bottom and one pair of mittens from the neckline. The sleeves could be used for leg warmers.

These were all hand stitched and have shown no sign of unravelling.

I originally got this idea from this YouTube video


More Painted Pots

Here are some more pots that I have painted. Besides using pots alone you can combine them to make a stacked garden or for another project that isn’t even for a pot. All of these pots are terra cotta pots which I painted or stained and then sealed with Rustoleum spray Spar Urethane Satin Outdoor clearcoat.

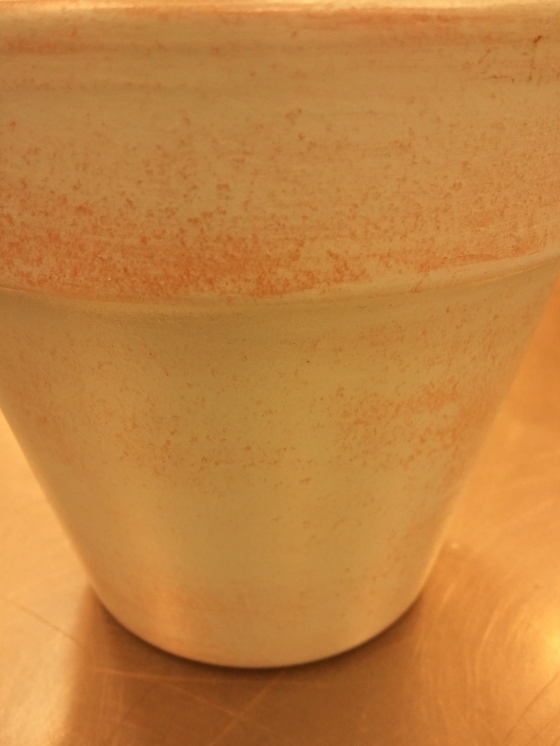
For this pot I used Behr paint and wiped it off immediately. This leaves a distressed sort of look where you can see some of the terra cotta through the paint.

Painted Pot

Painted Pot

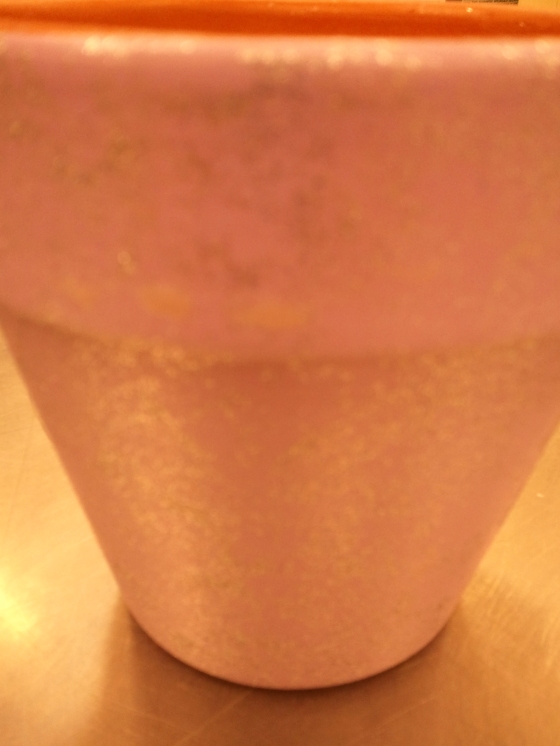
On this pot I used Behr paint to paint the entire pot. Once dry I sprayed the pot with Rustoleum glitter paint in silver.

Glitter Pot

Glitter Pot

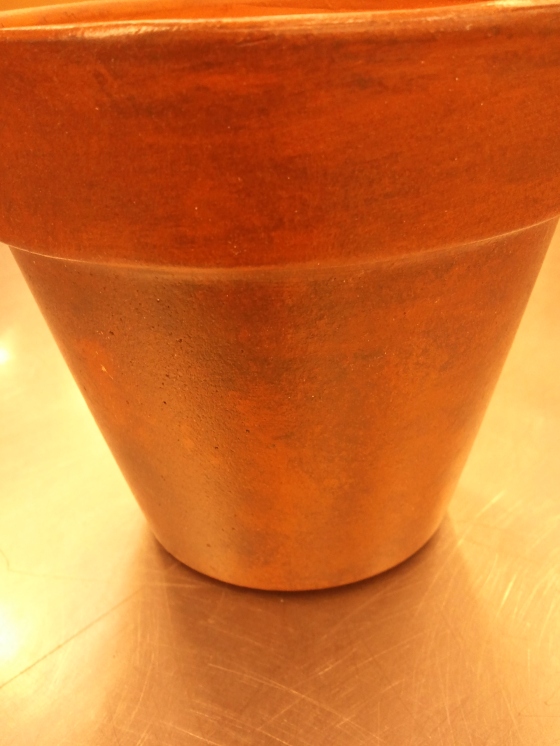
This pot is stained with Minwax Color Express Oak water based stain. I wiped it off right after staining to give an uneven finish.

Stained Pot

Stained Pot

Starting A 72 Hour Kit

In Utah the Great Utah Shake Out is coming up next week.  It gives people the opportunity to think about how prepared they would be for an earthquake whether they were at home, work, or school.   If you aren’t in Utah check for one in your area.

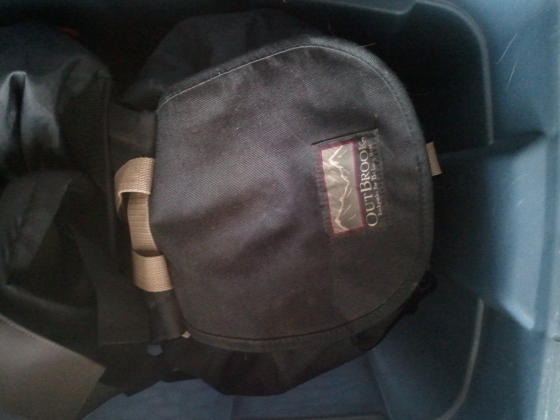
My Preparedness kit started many years ago with free or inexpensive buckets from grocery store bakeries. Sometimes they were still loaded with frosting. One bucket per family member with the two for adults loaded a bit fuller since we could carry more weight.  I used free items that came in the mail or with packages of other things or as samples – a very small box of laundry soap, a bar of soap, shampoo samples, even a candy bar sample.  I also added items from around the house –  roll of toilet paper, a pair of socks, a towel, a can of tuna and a can opener, paper and a pencil, some change, matches, candles, a flashlight, bottled water, travel Boggle that my brother had given me, list of names and phone numbers for family and friends.  Think about what you would need for food, water, warmth, and entertainment.  Eventually I replaced the buckets with backpacks and used the buckets for long term food storage. I replaced some of the heavier canned items with MREs and water bottles were replaced with water blocks.  I keep our backpacks in a tote near a door for easy access in case we needed to evacuate.

I try to remember to check through my kit twice per year. Once I didn’t realize how long it had been until I saw that my 7 year olds pack still had diapers in it. Now I check it twice per year.

No matter what your budget start putting together some things in case of emergency.  Even if you never have to use it you will have some peace of mind knowing it is there just in case.

72 hour kit

Emergency Kit


How to Apply a Suede Faux Finish

A suede faux finish can be applied to a wall or other surfaces to give the appearance of suede. I have only tried this method on a flat surface.

I would recommend practicing on a piece of drywallwood, or other surface similar to what you will be working with.
Choose two paint colors – base color (in this case the lighter color) and a top color.
Paint the base color on the surface using a good quality roller. Let dry for a minimum of 4 hours.
Mix the second color with glaze – 4 parts glaze to 1 part paint.
Working in an area of no larger than 2′ x 2′ at a time, roll or brush on the glaze/paint mixture.
Roll up a slightly damp, lint-free cloth (I prefer a cloth with a little texture). Roll the cloth through the paint/glaze mixture that you have applied.
The glaze extends the dry time of the paint so if you are working quickly and do not like the result of an area roll out the paint/glaze mixture again to smooth the spot a roll the damp cloth through it again.


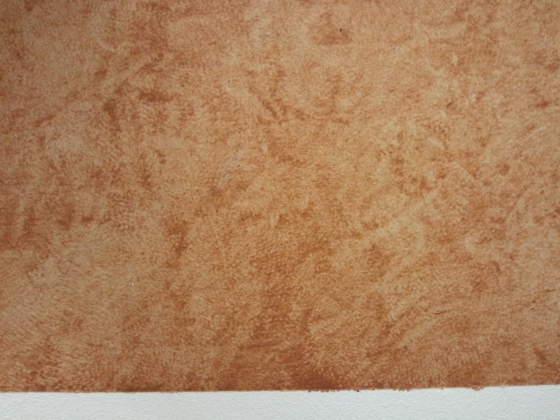
The photo below is a suede faux finish applied to bare drywall.

Suede faux

Suede faux

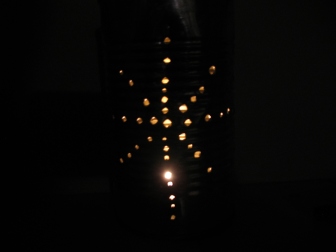
Luminarias

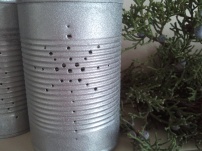
Spray Painted Luminaria

Spray Painted Luminaria

14 – 15 oz canned vegetable cans or 26 oz soup cans or a mix of both
Hammer and nail, drill, or Dremel
Spray paint if desired. I used Rustoleum Textured Metal in Silver.  In the past I left them unpainted.
Tea light candles or LED tea lights

Watch for sharp edges where the lid was removed
To remove any adhesive use vegetable oil and then dish soap.
Add 1 – 2” water and freeze. Once frozen add water to fill almost to the top. This method prevents the bottom of the can from bulging.
Poke holes freehand or use a Sharpie to determine design first.   The designs could be all the same or all different.

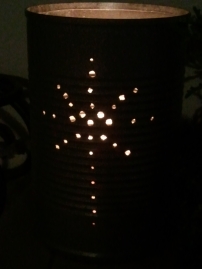
Luminaria

Luminaria – 14 oz, painted

Luminaria - 26 oz, unpainted

Luminaria – 26 oz, unpainted

Depending on your climate use indoors or out
Line a driveway or sidewalk, decorate a mantel, or group together outside or indoors.

Crockpot Stuffing & Why I Don’t Stuff Turkey

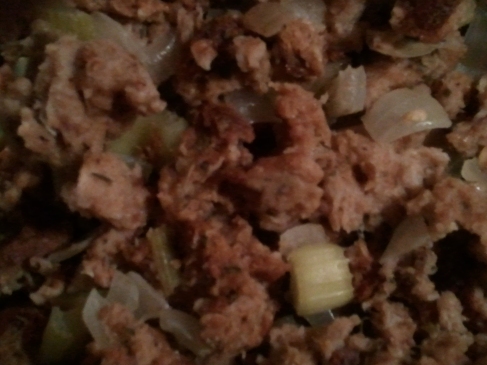
When preparing all the dishes for Thanksgiving my oven just isn’t large enough to handle everything that needs to be in there at the same time. Cooking stuffing in the crockpot freed up oven space and helped with my time frame for preparing the meal (recipe below). Although I love stuffing, when it was just my two children and I there would be enough leftover to freeze so we could have stuffing whenever we wanted.

On the advice from my father (a retired poultry science professor) I have always cooked my stuffing in a dish – not inside the turkey – using drippings from the turkey for flavor.

 Why you should not stuff your turkey:

  • Takes longer to cook the turkey
  • May not heat thoroughly into the center of the bird (and the stuffing) increasing the chance of salmonella.
  • Not enough fits inside!

Crockpot Stuffing

2 c chopped celery
2 c chopped onion
12 c bread, cube the day before
1 t poultry seasoning
1 t thyme
2 t sage
½ t black pepper
1 ½ t salt (I use Real Salt)
2 eggs
2 or more cups broth (from the turkey, vegetable broth, or your preferance)

Celery and onions may be sauted in butter, oil, or broth if desired. Mix celery and onions with bread cubes. Mix seasonings, broth, and eggs. Add mixture to bread cubes. If it is too dry add more broth.

Place mixture into crockpot, cover and cook on high for one hour. Cook on low for 2 – 4 hours.

If using fresh herbs, double the amount and chop finely.

Drier bread cubes may require more than 2 cups broth.

Can be doubled for larger crockpots.

Image

Switching From Plastic In the Kitchen

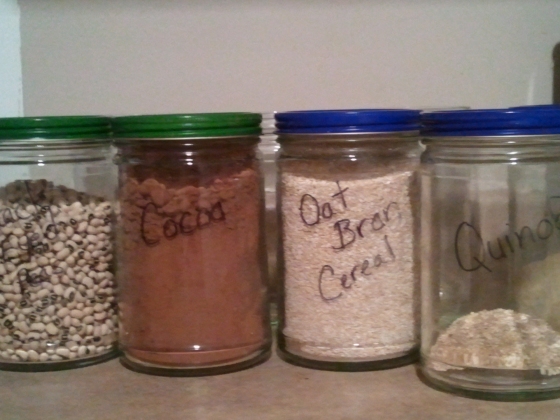
I decided to start eliminating plastic storage containers from my pantry and refrigerator. So, what to do instead? I buy peanut butter (Adams, 36 oz) which comes in large glass jars with straight sides and large mouths for easy access. Why not use these for storage? So, removing the label and throughly cleaning the insides I wrote on the jar with a Sharpy to label the contents. Sharpy markers are permanent enough not to rub off on your hand but can be removed if you change the contents of your jar or just want to rewrite it. They come in a variety of colors so you can use all one color like I did (I used black) or use different colors for different types of items. My jars with blue lids are stored in the refrigerator and those with green go in the pantry. That way if someone doesn’t know where it should be stored they can tell by the color (if they remember).

Jars for storage

Jars for storage

Most two pound bags of beans will almost fit in one of these jars. The extra goes into my bean mix jar which I use to make my 9 bean soup.

My pantry includes various types of beans, barley, alphabets for soup, brown sugar, cocoa, carob.

My refrigerator includes ground flax seed, any grain that is not whole such as steel cut oats and bulgar, popcorn, quinoa, and polenta.

For items that I store in smaller amounts I plan to use smaller jars.

Stuffing

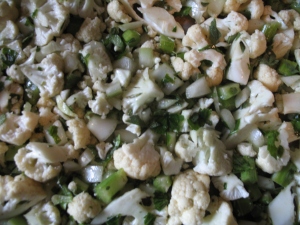
One of my favorite Thanksgiving dishes is the stuffing although I make it other times of the year also.  Every year I  make it the same way except that I sometimes cook it in the crockpot since the oven is used for so many other things on that day.   I decided to try something different and substitute cauliflower for the bread.  Use cauliflower instead of bread in your recipe or use my recipe below.  I never actually stuff the turkey – for safety and time reasons.  A stuffed turkey takes longer to cook and the stuffing often does not get heated enough to be safe.  A 9 x 13 pan works well for cooking this stuffing.

Cauliflower Stuffing

Cauliflower Stuffing

Cauliflower cut into chunks – about 4 cups

1/3 c. onion, chopped

3/4 c. celery, chopped

3/4 t. dried sage or 1/2 T. fresh sage, chopped

1/2 t. dried thyme or 1 1/2 t. fresh thyme leaves

1/4 t black pepper

1 c. turkey or chicken broth

Mix all ingredients thoroughly.  Bake in a 9 x 12 baking dish at 325 F for about 20 minutes.  Recipe may be doubled.

Alternative Cooking Methods – Part 2

These alternative cooking methods require some type of fuel to be purchased and stored.  Be sure to be familiar enough with them to know how to use them safely.  Some should never be used indoors.  Try them out before you need to use them.

In case you missed it Alternative Cooking Part 1

Storing and using fuels for cooking and heating.

Butane

I have one of these!  After a power outage in January many years ago and no way to cook other than the grill outside I checked into indoor cooking methods.  From what I read butane is safer than most fuels for indoor use.  Always have adequate ventilation!

Butane is available in canisters that look similar to a can of spray paint.  Just pop it in the stove and turn it on.  No matches necessary.  I have not yet used mine for emergency purposes but I have used it many times when camping.
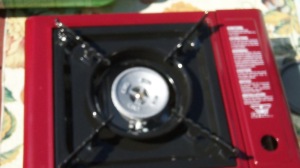
Butane Stove

Denatured Alcohol

This is not actually a stove but a way to use denatured alcohol with other stoves.

Remove the cardboard tube from a roll of toilet paper.  Place the roll inside a clean empty paint can (available at hardware stores or paint stores).  Fill the can with denatured alcohol (also available in the paint department).  Securely attach the lid.  Store until  use.
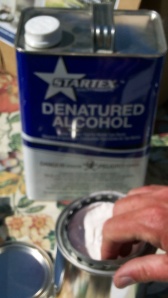
Denatured Alcohol

Kerosene

There are many types of kerosene stoves.  Some are heater/stove combinations.  Kerosene is one of the less expensive fuels and can be purchased in 1 gallon, 5 gallon, and possibly larger containers.
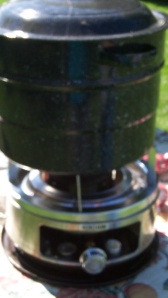
Kerosene Stove

Propane

Propane is available in sturdy tanks of various sizes – 1 lb up to 100 lbs or more.  This small grill (on the right) uses the small 1 lb canisters of propane.  The larger tanks are refillable.
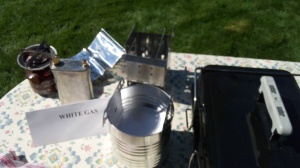
White Gas, Propane, Sterno

White Gas

Never use indoors! The stove to the left (above photo) is one gas stove that uses white gas (also sold as Coleman Fuel).   Many Coleman camping stoves also use white gas but an adaptor can be purchased for using propane tanks instead.

Sterno

Sterno is a fuel made from denatured alcohol and gel alcohol.  In my experience they do not store very well for long.  This stove (below) is a double burner if you use a sterno under each side.

There are a couple stoves in the photo above (in the middle) which could be fueled with sternos or charcoal.

You can also build sterno stoves of various types.
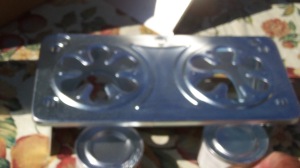
Double Sterno Stove

Backpacker Oven – Bemco

This backpacker oven is fueled by a gas stove.  It folds up nicely so may be a good option if you were hauling your equipment.
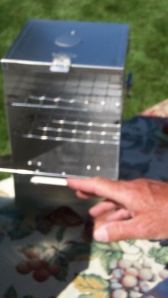
Backpacker Oven – Bemco

More information about fuels for cooking and heating